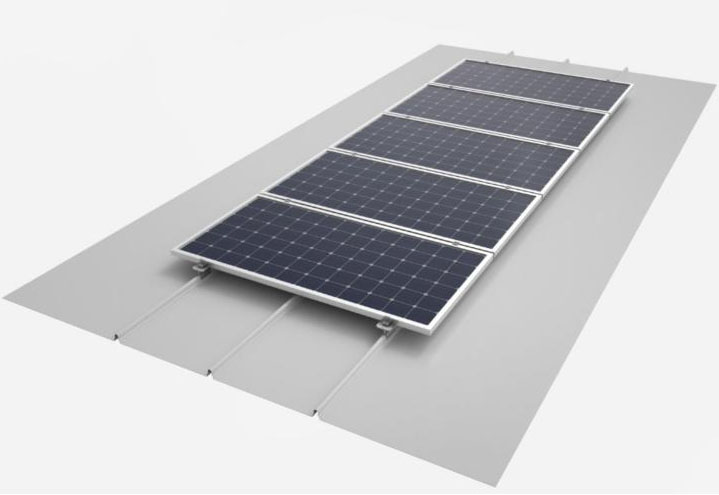
How to Install Standing Seam Roof Mounting System by Klip lok 700 Roof Clamp?
GeneralIntroduction:
Antaisolar standing seam roof mounting system is an convenient and ideal solar roof solution. Made of anodized aluminum 6005-T6 and SUS 304, Klip lok 700 roof clamp enables less installation time and offers secure fastening and water tightness without penetrating the roof sheet. Here is the installation guide of Klip lok 700 roof clamp for your information.

InstallationProcess:
a. Fixing the Klip lok 700 roof clamp
b. Fixing the earthing clip
c. Placing the solar panels and use the end clamps to fix the panel
d. Using the mid clamps to fix the panel
e. Placing the entire panel from bottom to top
f. Installing the grounding lug
More installation details at https://www.youtube.com/watch?v=OQr8xVhJE40

Installation precautions:
Ø The bolts of the Klip lok 700 roof clamp are pre-assembled, and can be easily tightened after adjusting the clamp position.
Ø The rubber pad at the bottom of the Klip lok 700 roof clamp needs to be fixed tightly to the metal roof surface.
Ø Measuring the size of the standing seam to ensure that the solar clamps match the metal roof surface.
Ø It is very important to check the connection of the Klip lok 700 roof clamps and other connectors regularly.

In addition to the the Klip lok 700 roof clamp, Antaisolar also provides a wide range of standing seam roof clamps suitable for rooftops like Klip lok 406, locked seam, Stramit Speed Deck, Fielders and Lysaht etc., offering both easy and stable installation. All the roof clamps can be combined with L feet to ensure a fastening without penetrating the roof surface.
To learn more about Antaisolar roof solar mounting systems, please check out our Project Referencesat

评论
发表评论